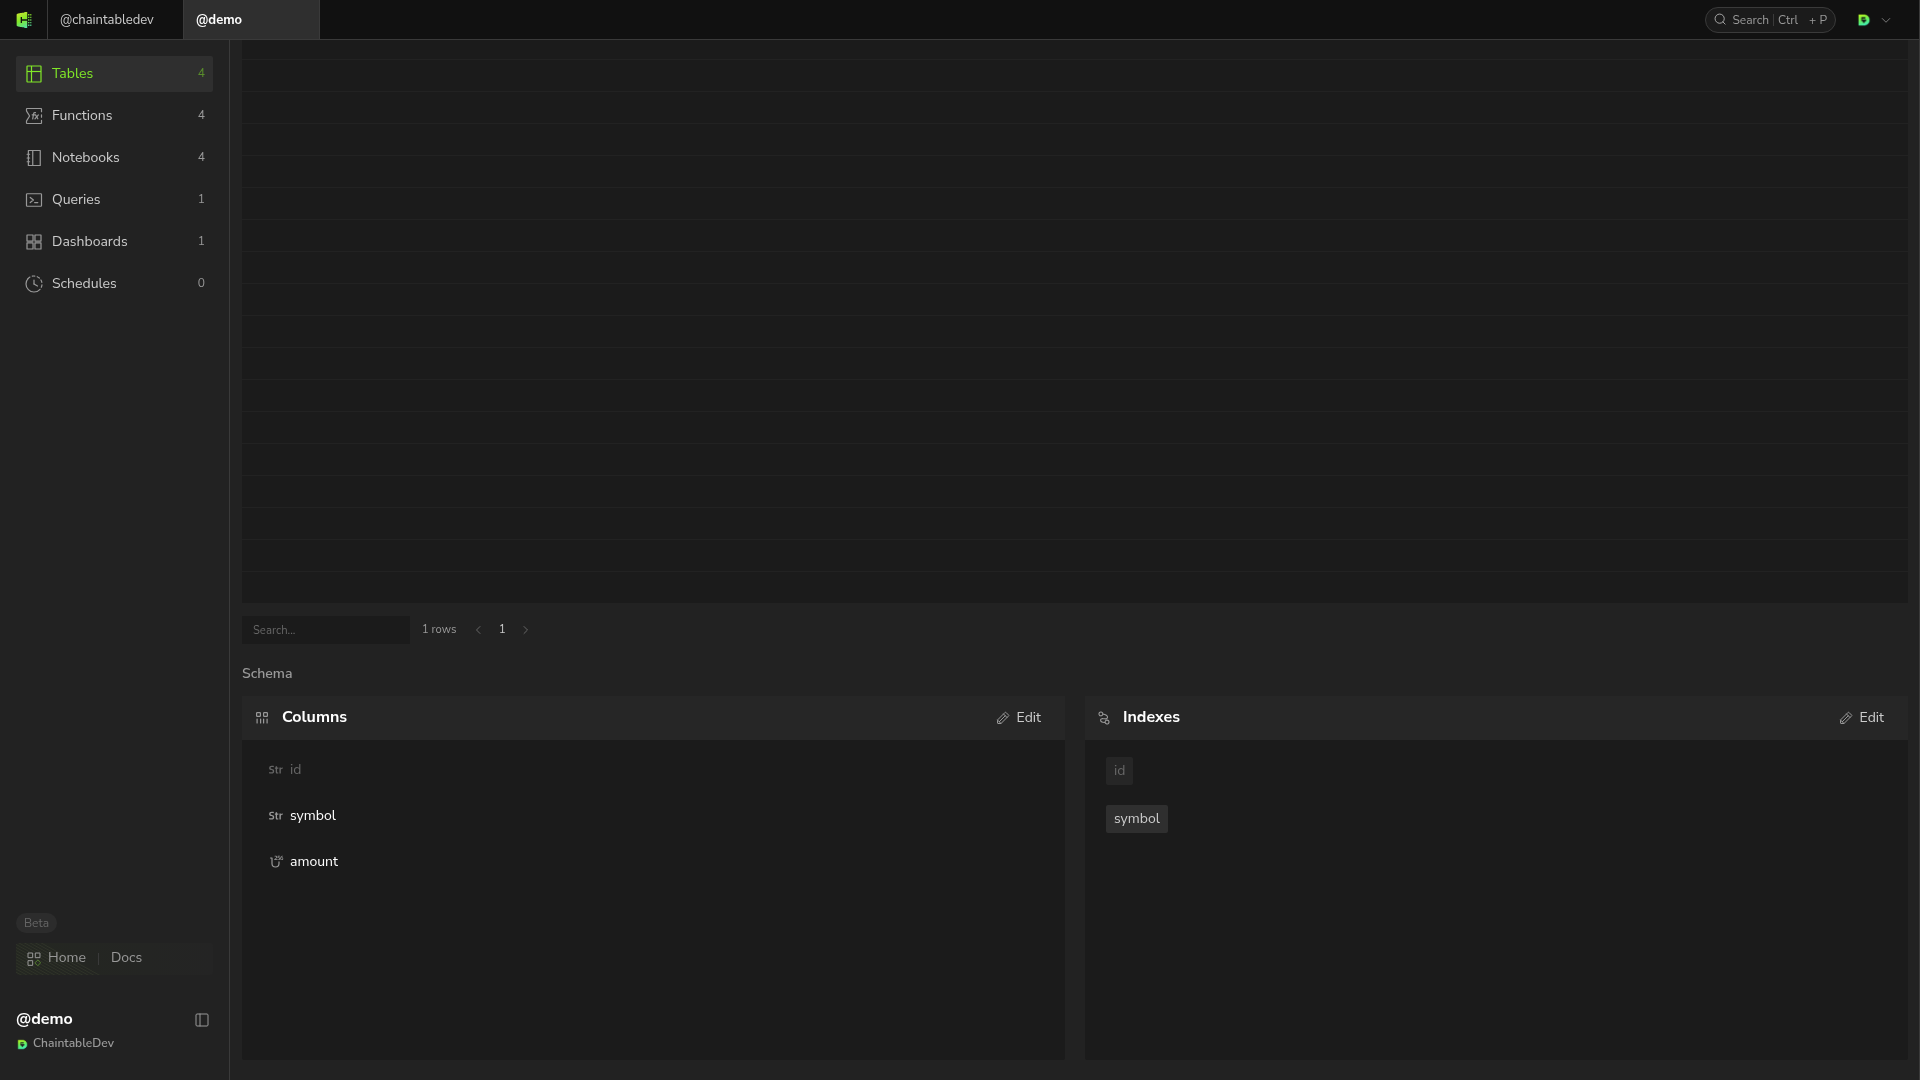
asset_notes in demo to store asset information and amounts.
Spaces currently offer only Public visibility, so the tables and data they hold are visible to other users. See Account management.
Choose a table type
In Tables, click + in the upper right and select Table Type in New Table.
Block tables also require a chain. See How tables work for the differences.
Create and define fields
- Select Normal, enter
asset_notesin Table name, and optionally add a Description. - Click Save and open.
- Click Edit under Schema → Columns. Keep the default
id: STRING. - Click + in the field area to add each field below, clicking Confirm for each.
- Click Save to save the schema.
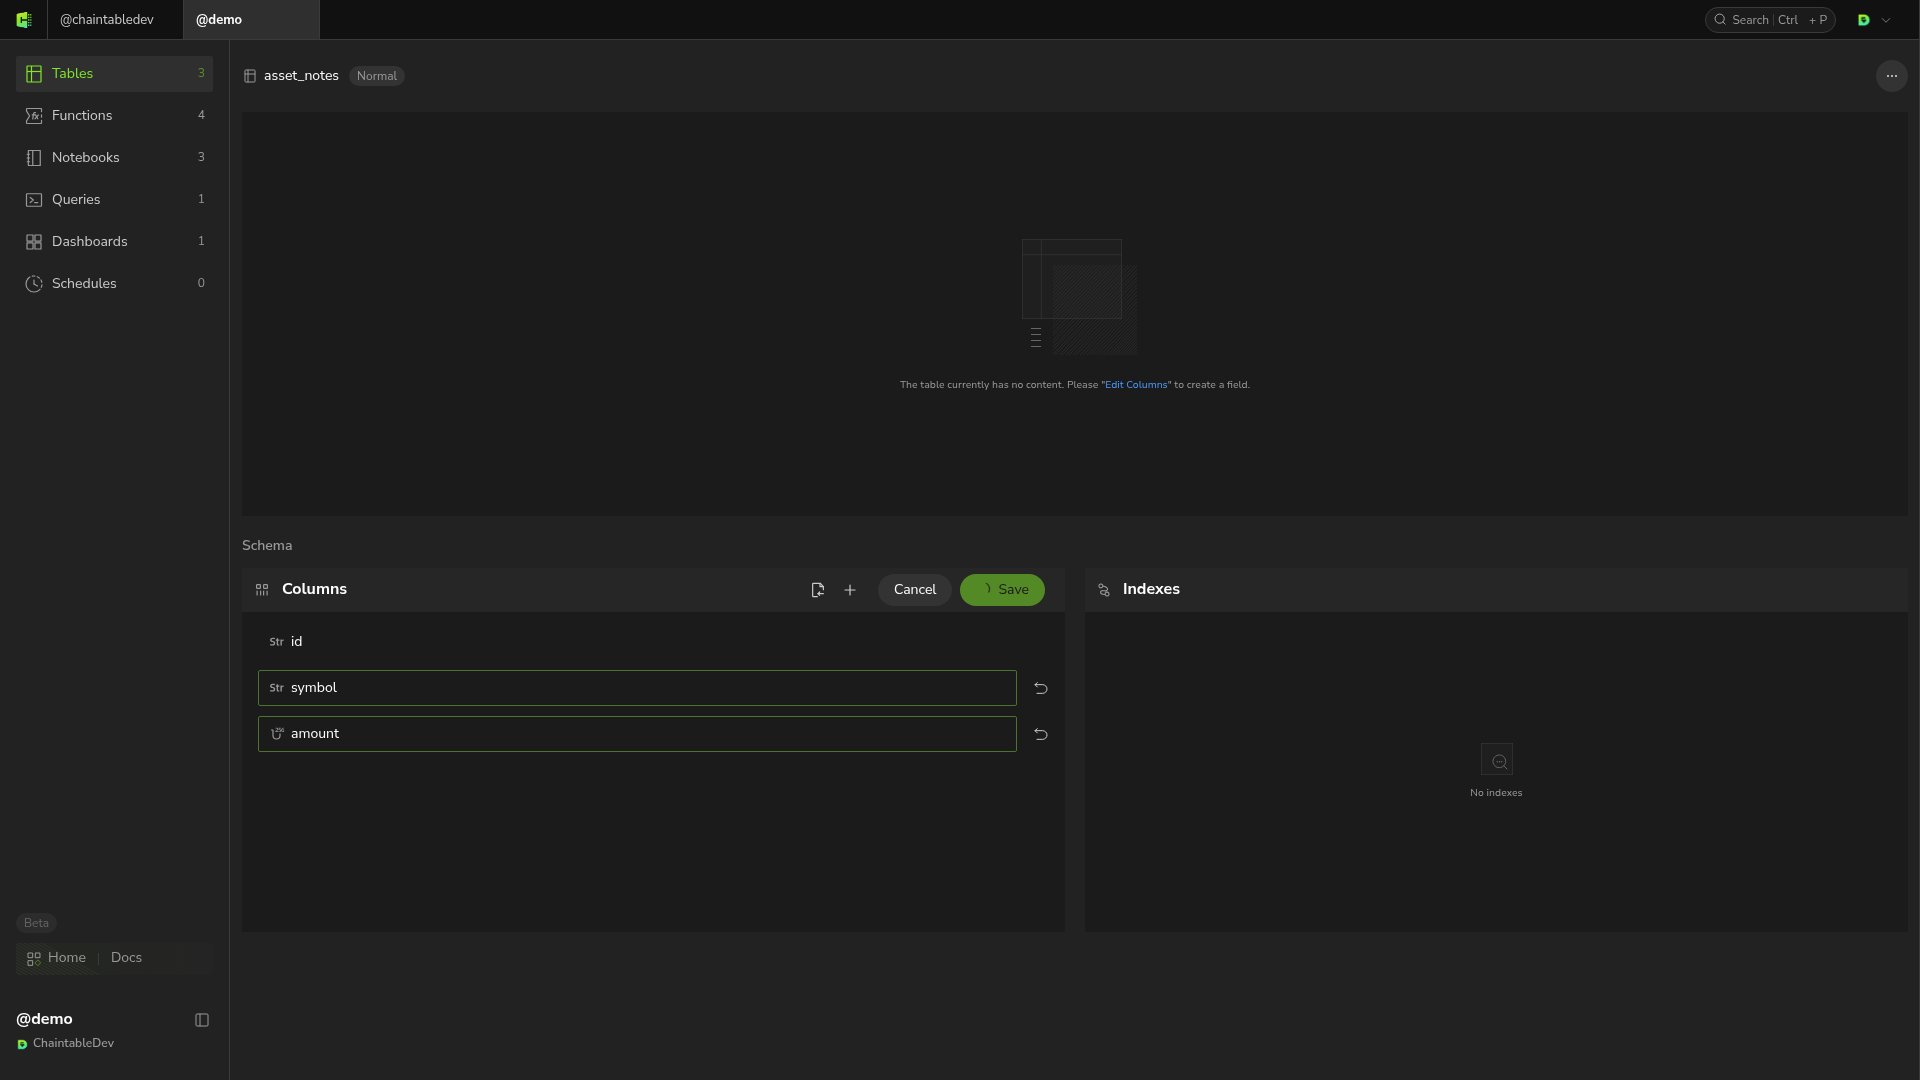
demo.asset_notes. Block tables include a chain suffix, such as demo.pool_reserves.eth. A name differs from a full ID; use the full ID in SDK calls and SQL.
Default block-table and time-table fields
Block tables includeid, block_height, block_id, and block_timestamp. Choose the primary-key type for your data: transfer records can retain their event IDs, while pool state can use ADDRESS for id. Set the start height after saving the schema and before processing the first block.
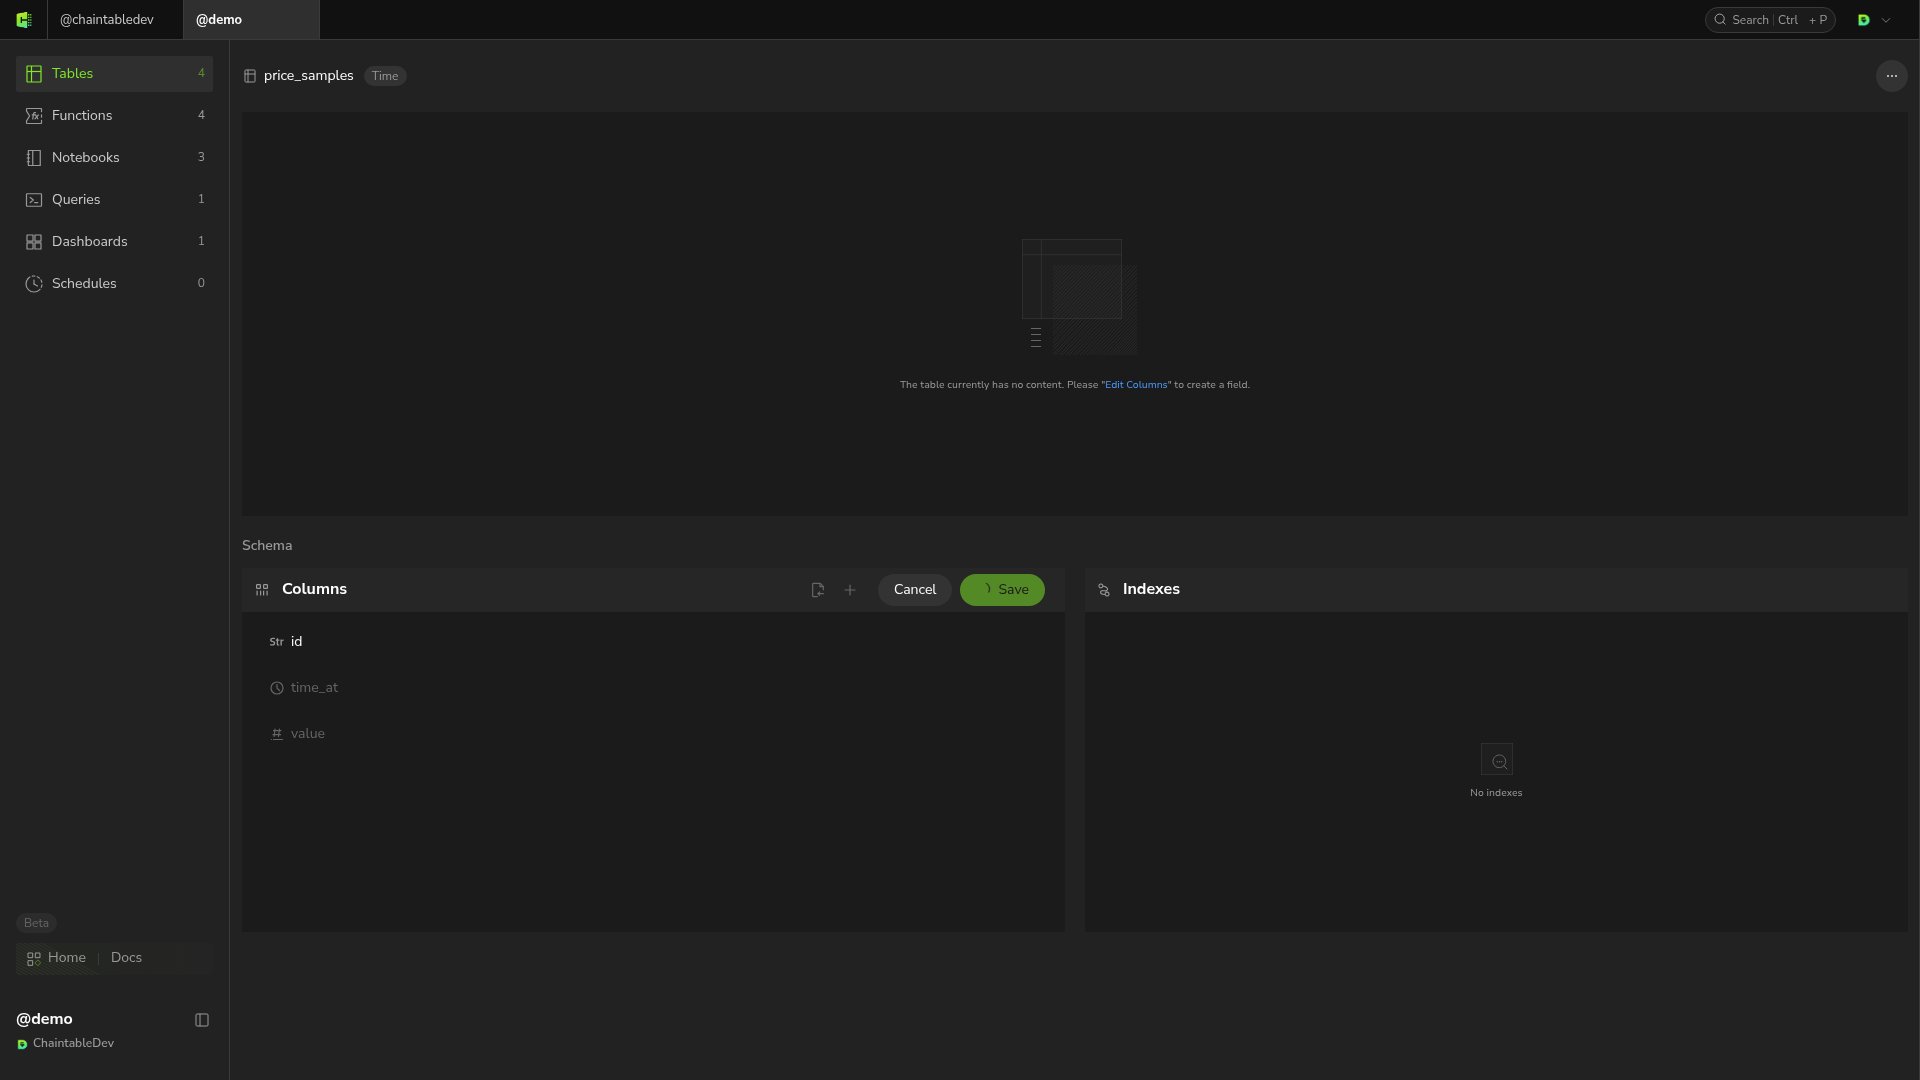
Time Tables use id, time_at, and value. For example, create a Time table named price_samples, click Columns → Edit to inspect the default fields, then Save to initialize the schema.
Configure indexes
Under Schema → Indexes, click Edit, then +. Select the field to index and click Save. For example, add asymbol index to asset_notes.