

Set parameters
Hover over the parameter area and click +. Enter Parameter name, select a type, and click Save. Notebook run parameters are strings; for example, addraw_amount and enter 1500000.
The parameter name must match what the script reads:
Choose compute resources
Use the selector to the left of Run to choose CPU and memory for the instance. A basic script can start with 0.25 vCPU / 1 GB.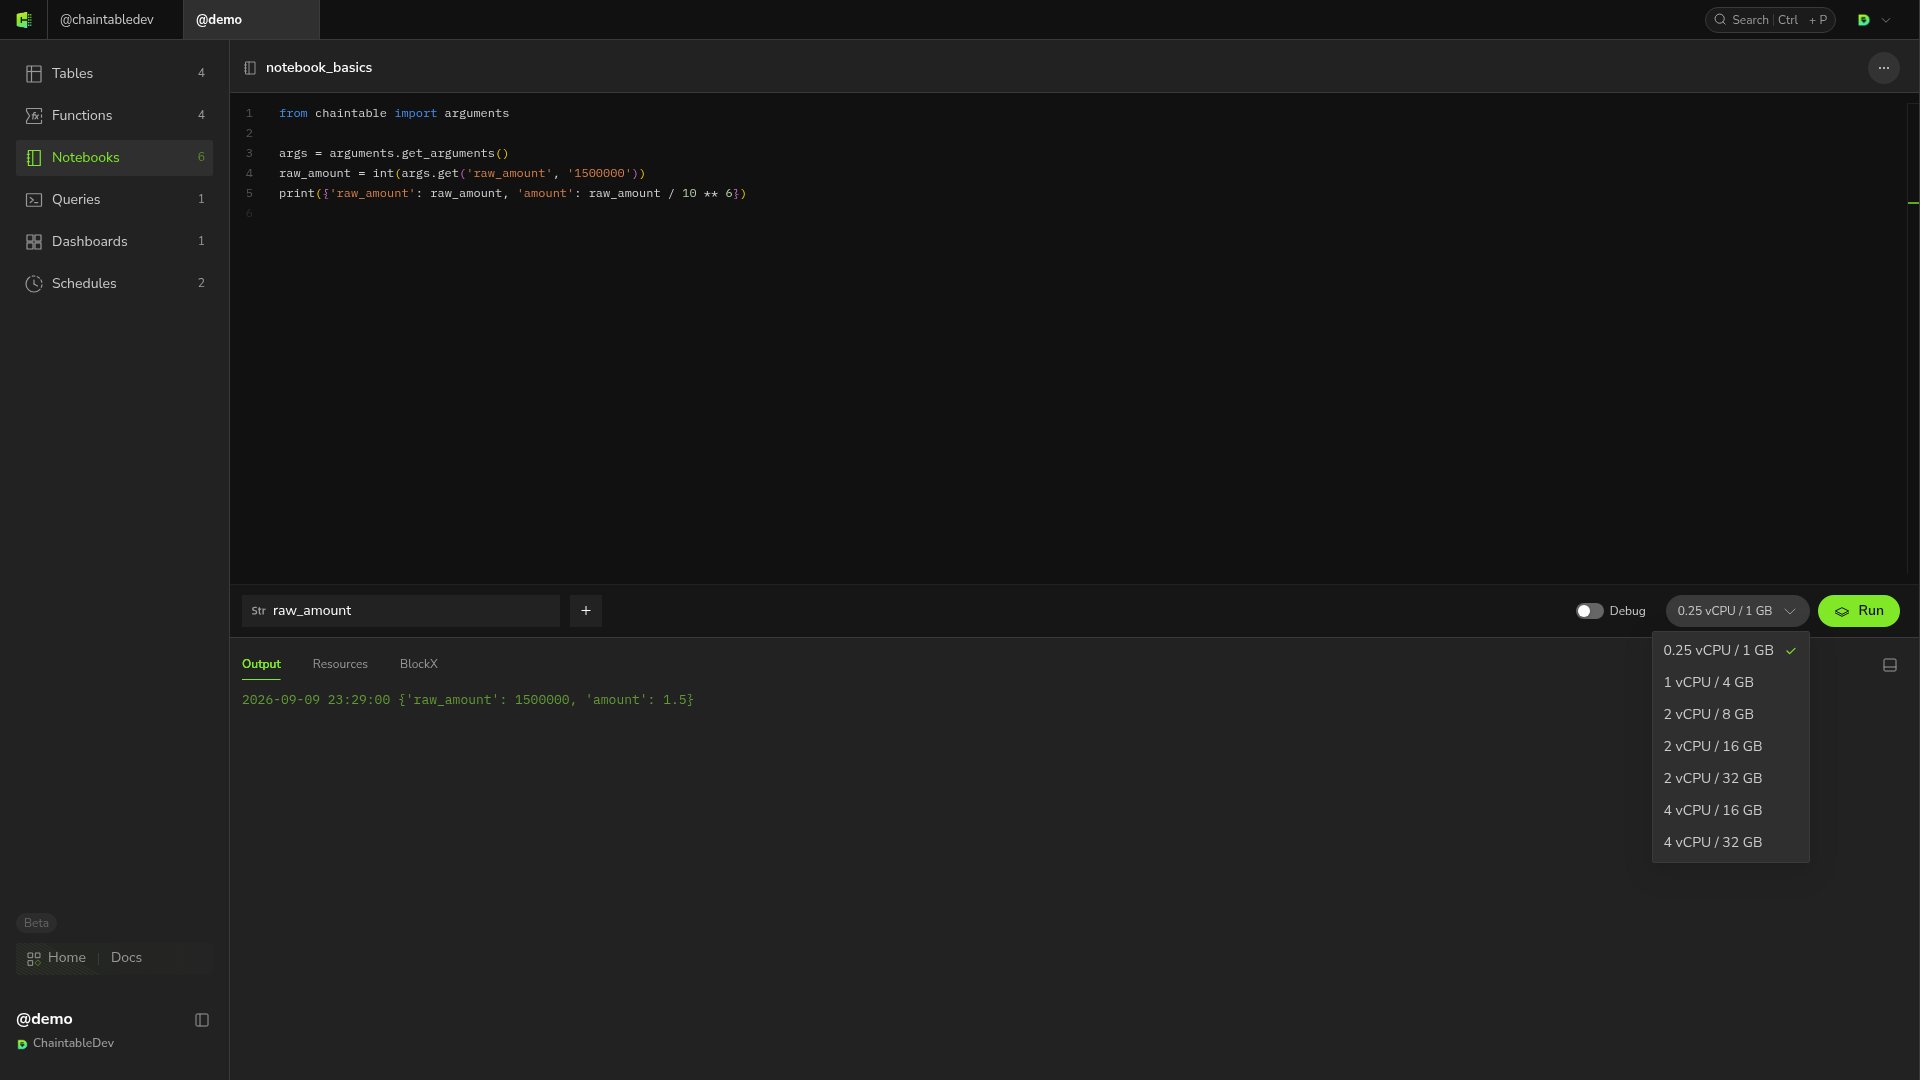
Start and stop
Click Run to start an instance. While running, the button becomes Cancel, and Output, Resources, BlockX, and Instance detail appear below.- Output shows
print()output and exceptions. - Resources shows CPU and memory usage.
- BlockX shows computation initiated by the script.
- Instance detail opens configuration, status, and logs for this run.
Switch to background execution
Foreground execution depends on the page remaining active. Before leaving, click Switch to Background in the run panel. You can then find the instance under the account’s Instances page.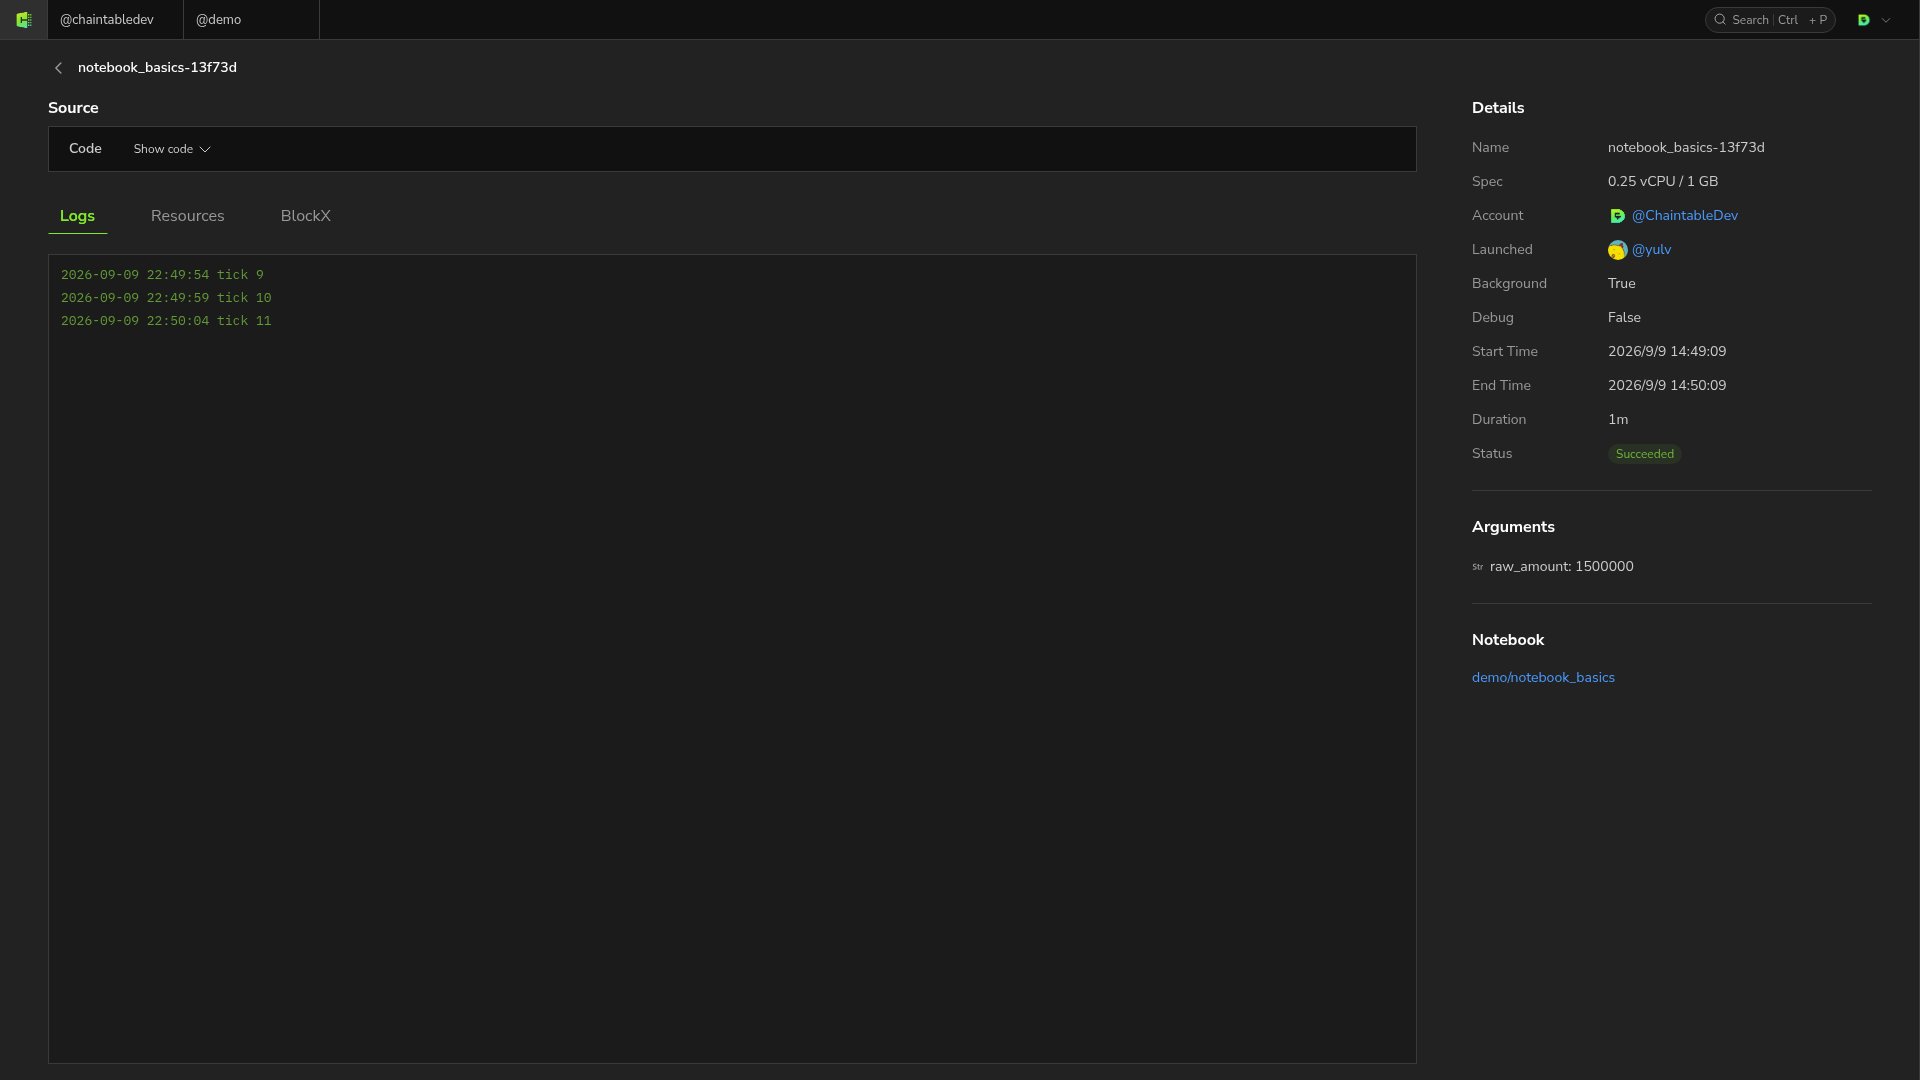
True in the instance details confirms background execution. To restart the script automatically after an instance ends, follow Create a continuous schedule.